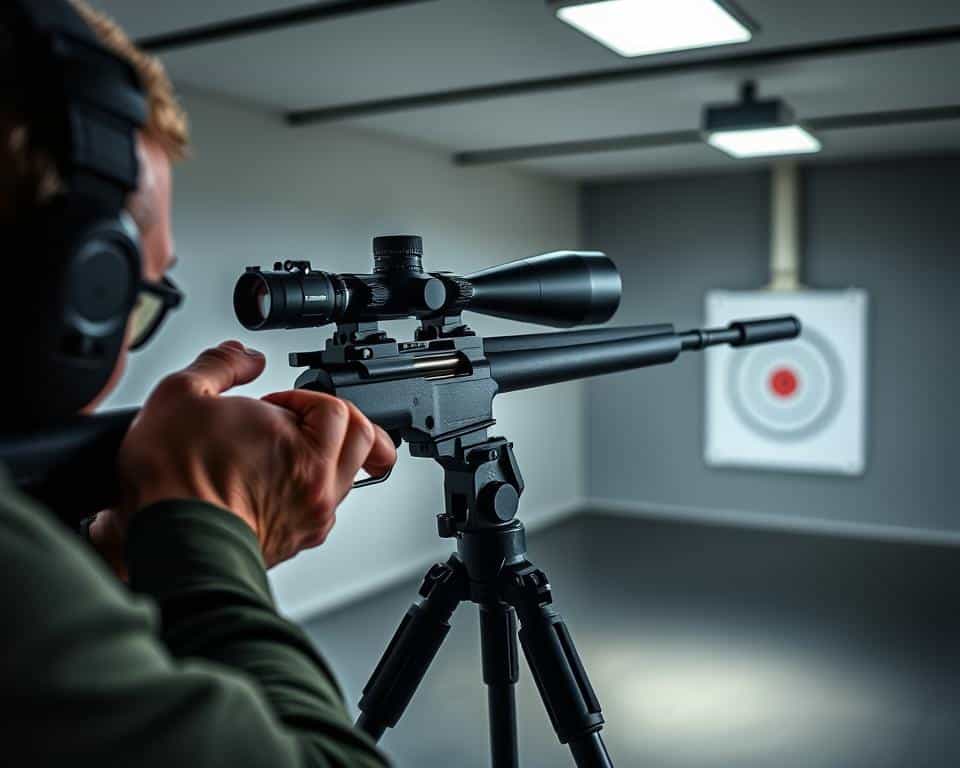
When your shots miss the target, your scope might be the problem. Precision shooting needs good optics. Yet, many face scope accuracy problems that affect their aim.
Even top-notch scopes can have issues. Reticles can shift, turrets lose their zero, and parallax errors can sneak in. Knowing these common problems is key to fixing them.
This guide shows you how to fix rifle scope problems like pros do. You’ll learn to spot symptoms, find the cause, and fix it without spending a lot. No fancy tools or training needed.
These tips are great for hunting, competitive shooting, or just keeping your gear in top shape. By learning these skills, you’ll save money and keep your aim true when it counts.
Contents
Key Takeaways
- Most scope issues come from bad mounting or damage from the environment
- Basic tools like bubble levels and torque wrenches can fix many problems
- Always follow safety rules when working with mounted scopes
- Regular upkeep stops most serious optical failures
- Knowing how to adjust parallax is key for long-range accuracy
- Some internal optical issues need a pro to fix
Understanding Common Rifle Scope Errors
When your shots don’t hit the mark, it’s often due to common rifle scope problems. These issues affect even the most skilled shooters. Knowing what these problems are is the first step to improving your accuracy and consistency.
Parallax Errors and Their Impact on Accuracy
Parallax happens when the reticle and target seem to be at different distances. This makes the crosshairs appear to move when you change your eye position. Parallax errors get worse beyond 150 yards, causing shots to miss by inches or more.
Most scopes have a parallax adjustment, like a side focus knob or adjustable objective bell. Adjusting this properly makes sure the reticle and target are on the same plane, fixing this accuracy problem.
Zeroing Issues and Point of Impact Shifts
A zeroed scope means your shots hit where you aim. But, many things can make your zero shift. Temperature changes, rough handling, and recoil can all affect your aim.
Many shooters face zeroing problems after moving their rifles or changing ammo. It’s important to check your zero often, especially before big hunts or competitions.
Reticle Problems: Blurring, Tilting, and Misalignment
Reticle issues can really mess with your aim. A blurry reticle makes it hard to aim in the dark. A tilted reticle messes up your aim, and a misaligned reticle means your shots won’t hit where you think they will.
These problems can come from bad manufacturing, damage, or broken parts inside the scope. Catching these issues early saves ammo and prevents frustration at the range.
Mounting and Ring-Related Errors
Even the best scope won’t work right if it’s not mounted correctly. Common mistakes include uneven torque, misaligned rings, and wrong base installation. These mistakes put stress on the scope tube and can cause it to perform poorly.
Ring height mismatches and loose mounting hardware are especially bad. They cause the scope to move during recoil, ruining your aim and consistency.
| Error Type | Common Symptoms | Primary Causes | Impact on Accuracy |
|---|---|---|---|
| Parallax | Reticle appears to move relative to target | Incorrect focal plane alignment | Severe at distances over 150 yards |
| Zeroing Issues | Inconsistent point of impact | Temperature changes, recoil, handling | Progressive deterioration over time |
| Reticle Problems | Blurry or tilted crosshairs | Manufacturing defects, impact damage | Immediate and significant |
| Mounting Errors | Scope movement, inconsistent shots | Improper installation, loose hardware | Severe and unpredictable |
Diagnosing Your Scope Issues
Before you can fix your rifle scope, you need to find out what’s wrong. This means doing some tests and watching closely. Finding the problem right away saves time and helps avoid making things worse.
It’s important to know if the issue is with you, the ammo, or the scope itself. A careful approach helps figure this out.
Identifying Accuracy Problems at the Range
Don’t jump to conclusions if your shots are off. First, check if everything else is right. Are you using the same ammo? Is your shooting spot steady? Has your rifle’s barrel been cleaned lately?
Look at your shot groups closely. Scattered shots with no clear pattern usually mean it’s your fault. But if your shots group well but miss, it might be a scope zero problem. Vertical stringing could mean bad ammo or breathing issues, while horizontal spread might show up bad trigger control.
If adjusting your scope doesn’t fix the problem, you might have a turret tracking issue.
Determining Mechanical vs. Optical Issues
Scope problems can be mechanical or optical. Knowing the difference is key to fixing it right.
| Mechanical Issues | Symptoms | Optical Issues | Symptoms |
|---|---|---|---|
| Tracking Problems | Adjustments don’t move point of impact correctly | Parallax Error | Reticle appears to move relative to target |
| Loose Mounts | Inconsistent groups, shifting zero | Blurry Reticle | Focus issues at certain distances |
| Recoil Shift | Zero changes after firing | Distortion | Image appears warped at edges |
Testing Your Scope’s Performance Systematically
When you think there’s a problem with your scope, do some specific tests. This way, you can find out exactly what’s wrong.

For the most accurate test, use a bench rest. Start with a box test: shoot one shot, then adjust 20 clicks right, fire again, 20 clicks down, fire again, 20 clicks left, fire again, and finally 20 clicks up to get back to where you started.
If your scope tracks perfectly, the last shot should be very close to the first. If not, your turrets aren’t working right. Another test is to see if the reticle shifts when you fire, then move your scope and try to get back to zero.
Field Testing Methods
Field testing shows how your scope does in real life. Shoot at different distances to see if your calculations match. Also, test it in different light to check if the image and reticle are clear.
Keep a record of all your tests. This will help you figure out how to fix the problem yourself or if you need help from a pro.
Essential Tools for Rifle Scope Maintenance
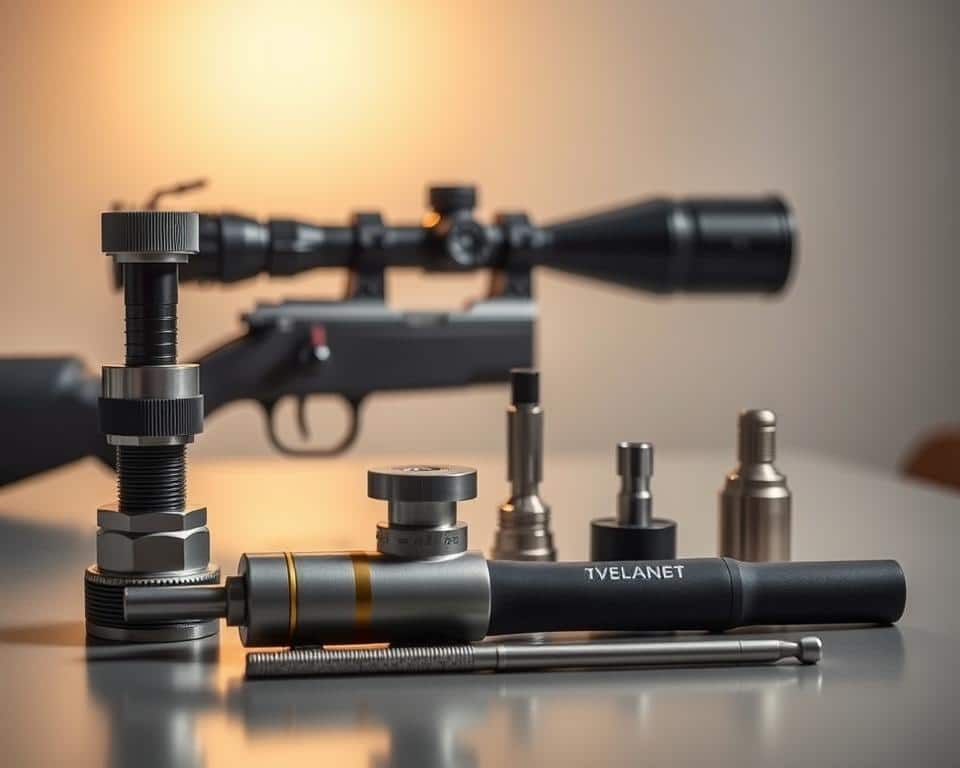
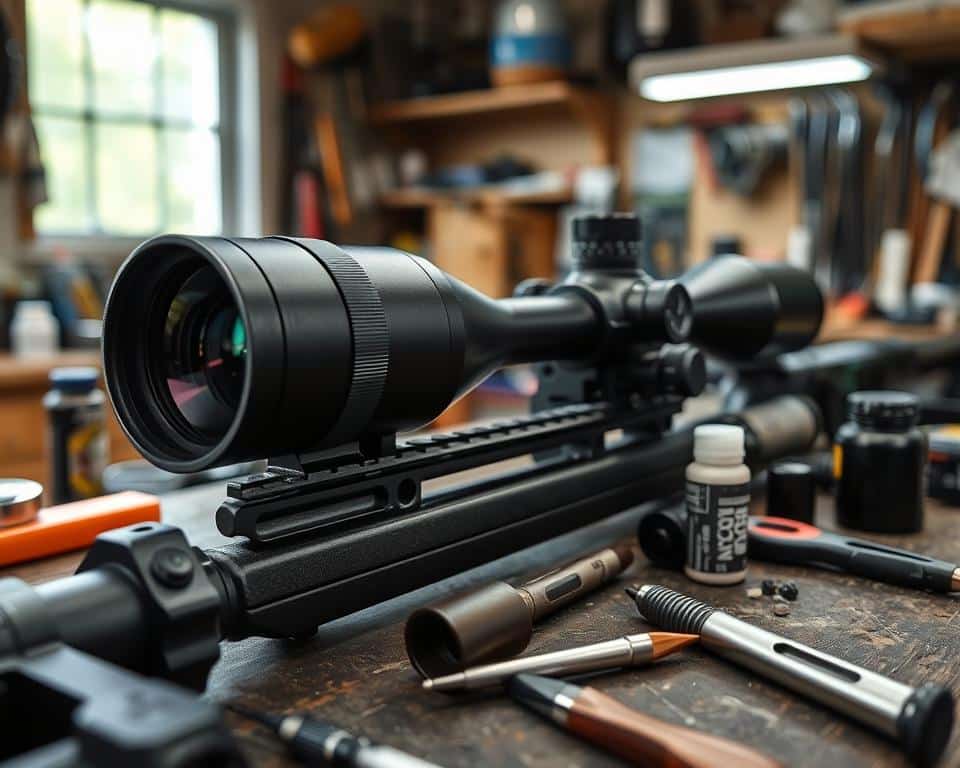
Keeping your rifle scope in top shape needs special tools. These tools ensure your scope is precise and safe during repairs. Having the right tools makes maintenance easier and protects your investment.
Basic Tool Kit Requirements
A good scope maintenance kit has a few key items. These tools are the basics for taking care of your scope. They help avoid many common problems.
Screwdrivers and Torque Wrenches
Having quality screwdrivers with the right bits is crucial. They prevent screws from getting stripped and damage to finishes. Look for sets with hardened tips that fit scope ring screws well.
A torque wrench for scope mounting is very important. It lets you apply the exact amount of pressure (15-25 inch-pounds) to screws. This prevents damage from over-tightening and shifting from under-tightening.
Levels and Alignment Tools

Aligning your scope properly is key. It ensures your reticle is straight. Use bubble levels on your scope, receiver, and barrel for perfect alignment. For more precise work, consider an anti-cant device.
Alignment rods and bore sighters help with initial alignment. They make fine-tuning at the range easier.
Specialized Equipment for Advanced Repairs
Some repairs need special tools. Lens spanner wrenches give access to internal parts. Ring lapping tools ensure scope rings fit perfectly, avoiding damage.
Mounting jigs help with installation and removal. Dial indicators diagnose tracking issues in adjustable turrets.
Quality Cleaning Supplies for Optics
Cleaning your scope right prevents damage to lens coatings. Your cleaning kit should have:
- Lens-safe cleaning solution (never use household glass cleaners)
- Microfiber cloths that won’t scratch delicate surfaces
- Lens pens with brush and cleaning pad
- Compressed air tools for removing dust without contact
Quality cleaning supplies keep your scope clear and functional. Always start with air or a soft brush to remove particles before using liquid cleaners.
Safety Precautions Before You Begin
Before starting any work on your rifle scope, it’s crucial to take safety steps. These steps help avoid accidents, injuries, and expensive damage. Whether you’re experienced or new to scope adjustments, safety should always be your top priority.
Proper Firearm Handling During Scope Work
Always follow basic firearm safety rules when working with scoped rifles. Always treat your firearm as if it’s loaded, even if you’re sure it’s not. Before you start, make sure to remove all ammunition and check that the chamber and magazine are empty.
Always keep the muzzle pointed in a safe direction, like downrange or at a wall that can stop a bullet. Never have your finger on the trigger during maintenance. Also, be mindful of what’s behind your firearm in case of an accidental discharge.
Workspace Considerations for Safe Repairs
Set up a dedicated workspace setup to reduce risks and work more efficiently. Choose a clean, well-lit area with no distractions or foot traffic. A stable workbench or table covered with a soft material like a gun mat will prevent scratches and ensure a non-slip surface.
Use organized tools and small parts in compartmentalized trays or magnetic dishes to avoid losing them. Keep solvents, lubricants, and chemicals labeled and away from heat. Also, make sure there’s good ventilation when using cleaning products that give off fumes.
Protecting Your Scope During Maintenance
Quality rifle scopes are a big investment and need careful handling. Always use lens caps when not directly working on the glass to prevent scope damage. When cleaning lenses, only use products made for optical surfaces.
Support your rifle in a proper gun vise or maintenance cradle to prevent it from tipping over. When removing or installing a scope, use the correct torque settings for mounting screws. This avoids damaging threads or crushing scope tubes.
Handle adjustment turrets carefully and follow the manufacturer’s guidelines for adjustments. Avoid using too much force, as it can damage internal parts and void warranties. With the right scope repair safety practices, your optics will last longer and stay precise for years.
How to Fix Error on Rifle Scopes: Step-by-Step Guide
For precision shooting, your optics must work right. This guide will help you fix common rifle scope errors. With the right steps and patience, you can solve many issues without needing a pro.
Correcting Parallax Issues
Parallax errors happen when the target and reticle don’t line up. This makes your aim shift as you move your head. It’s a big problem for accuracy at long ranges.
Adjusting Side Focus or Adjustable Objective
Most scopes have a side focus knob or an adjustable objective (AO) to fix parallax error. Here’s how to adjust your scope:
- Set up your rifle on a stable rest facing a distinct target
- Dial your magnification to maximum setting
- Look through your scope and slowly move your head side to side
- If the reticle appears to “swim” across the target, parallax is present
- Adjust your side focus or AO until the reticle remains fixed on target regardless of head position
Testing Parallax Correction at Various Distances
After adjusting, check if your correction works at different ranges. Many parallax knobs have yardage markings. But, these are just guesses. For true precision, test and note the actual settings for your common shooting distances.

Resolving Zeroing Problems
A scope that won’t hold zero or shoots inconsistently can be very frustrating. Proper zeroing is key to accuracy.
Proper Zeroing Technique
Here’s a reliable scope zeroing technique to get you started:
- Begin at 25 yards to get on paper
- Fire a 3-shot group
- Make necessary windage and elevation adjustments
- Move to your desired zero distance (typically 100 yards)
- Fire another 3-shot group
- Make final adjustments until your point of impact matches your point of aim
“The most common mistake I see is shooters making adjustments after single shots. Always use 3-shot groups to eliminate the influence of individual shooting errors.”
Troubleshooting Inconsistent Zero
If your scope won’t maintain zero, check these common culprits:
- Loose mounting screws or rings
- Improper torque application
- Damaged scope tube
- Internal mechanical failure
- Ammunition inconsistency
Fixing Reticle Alignment
A canted or misaligned reticle can cause frustration and accuracy problems. To fix reticle alignment issues:
- Place your rifle in a secure rest
- Use a plumb line or level as a vertical reference
- Loosen ring screws slightly
- Rotate the scope until the vertical crosshair aligns perfectly with your reference
- Retighten rings following proper torque sequence
Addressing Mounting Issues
Many scope problems come from improper mounting. Correct installation prevents damage and ensures consistent performance.
Proper Torque Sequence
Using the correct scope mounting torque prevents scope tube deformation and maintains zero:
- Install bases using manufacturer’s recommended torque (typically 15-25 inch-pounds)
- Place rings and scope, ensuring proper eye relief
- Tighten ring screws in a criss-cross pattern like lug nuts on a tire
- Use a torque wrench set to 15-18 inch-pounds for ring screws (or per manufacturer specs)
- Tighten gradually in multiple passes to ensure even pressure
Lapping Rings for Perfect Alignment
For ultimate precision, consider lapping your scope rings:
- Install rings on your rifle
- Insert lapping rod with abrasive compound
- Rotate rod until rings have uniform contact surfaces
- Clean thoroughly to remove all abrasive material
- Mount scope in freshly lapped rings
This process creates perfect ring alignment, eliminating stress points on your scope tube and improving accuracy potential.
Advanced Troubleshooting Techniques
For tough rifle scope problems, advanced methods can help. Basic care fixes many issues, but some need deeper checks. Let’s look at ways to solve complex scope problems.
Dealing with Internal Fogging and Moisture
Internal fogging is a big problem. It shows seals have failed. Unlike outside fog, it doesn’t go away with cleaning.
To see if your scope has internal moisture, try these tests:
- The freezer test: Put your scope in a sealed bag and chill it for 30 minutes. Then, check for fog inside
- The temperature shift test: Move your scope from cold to warm and watch for fog
True internal fogging means seals have failed. Opening sealed optics yourself can damage it and void warranties.

Fixing Turret Tracking Problems
Diagnosing Tracking Issues
Good turret tracking means your scope moves as you adjust it. To check, do a “box test” on a grid target:
- Shoot a group in the bottom left corner of your target
- Adjust elevation up 20 clicks and shoot another group
- Adjust windage 20 clicks right and shoot a third group
- Adjust elevation down 20 clicks for a fourth group
- Adjust windage 20 clicks left for a final group
Your last group should overlap with the first. If not, your scope has tracking issues.
Resetting Turrets Properly
Many tracking problems can be fixed by resetting your turrets. First, go back to your zero. Then, loosen the turret caps and align the zero mark without moving the adjustment mechanism.
For scopes with zero-stop, follow your manual to reset the stop at your zero. This ensures consistent return to zero.
Addressing Elevation and Windage Adjustment Issues
Sticky or uneven adjustments mean mechanical problems. Try moving the turrets through their full range to spread lubricant.
For ongoing issues, check if mounting rings are too tight. This can distort the scope and bind mechanisms. Loosen rings a bit and test again before tightening.
If adjustments hit their limit before reaching zero, you might need adjustable bases or rings. These can help your scope adjust within its range.
Resolving Optical Clarity Problems
Black spots or lines in your view mean internal contamination. Cleaning external lenses is easy, but internal debris needs a pro.
For external lens problems, use the right cleaning tools: lens pen, microfiber cloth, and lens-specific solution. Avoid household cleaners, as they can harm coatings.
Scratched coatings or internal misalignment need factory repair. These issues are not DIY fixes.
Preventative Maintenance for Rifle Scopes
Having a good maintenance plan can make your rifle scope last longer and work better. Regular care stops small problems from getting big. It keeps your shooting accurate. It’s easier to keep your scope in good shape than to fix it later.
Regular Cleaning Procedures for Lenses and Body
It’s key to keep your scope’s lenses clean for clear vision. Start by removing loose dirt with a brush or air before touching the glass.
For the lenses, use special lens cleaners. Put the cleaner on a microfiber cloth, not the lens. Clean in circles from the center out.
The scope body needs different care. Use a damp cloth to wipe off dirt and oils that can rust. Be careful around the seals and eyepiece, as they can let in moisture.

Proper Storage Practices to Prevent Damage
Good scope storage means keeping it in a stable place. Avoid big temperature changes that can damage seals and cause fog.
Always use lens caps when not using your scope. This keeps dust away and protects against scratches.
Keep your scoped rifle in a padded case or safe with humidity control. Never put the rifle on the scope, as it can damage the mount and affect aim.
Routine Inspection Protocols
Regular scope inspection catches problems early. Make it a habit to check your scope before and after shooting.
Check all mounting hardware for tightness. Screws can loosen over time, affecting accuracy.
Test turret adjustments to make sure they work right. Look for any reticle movement that could mean a problem inside.
Environmental Protection Tips for Extreme Conditions
Extreme weather needs special care for your scope. In humid places, use anti-fog cloths and desiccant packs in your case.
In dusty or sandy areas, use scope covers when not shooting. Neoprene covers are great for protection and quick use.
In cold weather, avoid sudden changes in temperature to prevent fog. Let it warm up slowly.
| Environment | Primary Threat | Protection Method | Maintenance Frequency |
|---|---|---|---|
| Desert/Arid | Sand and dust | Scope covers, lens caps | After each use |
| Tropical/Humid | Moisture, fungus | Desiccant packs, silicone cloth | Weekly |
| Cold/Arctic | Condensation, freezing | Gradual temperature changes | Before and after use |
| Saltwater | Corrosion | Freshwater rinse, protective spray | Immediately after exposure |
When to Seek Professional Help
Knowing when to seek professional help is key to keeping your optics in top shape. While many scope issues can be fixed at home, some problems are too complex. Recognizing these limits can prevent permanent damage to your equipment.
Signs of Serious Internal Damage
Not all scope problems can be fixed at home. Look out for these critical warning signs that mean you need a pro:
- Persistent internal fogging that returns despite drying attempts
- Reticle that shifts position during normal use
- Erratic or inconsistent turret tracking
- Visible cracks or damage to internal components
- Optical distortions that affect image clarity
Take photos and write down the details before calling a professional. This helps them understand the problem before they see your scope.
Warranty Considerations and Manufacturer Support
Check if your scope is still under warranty before getting repairs. Many top brands offer warranties from one year to a lifetime. DIY repairs on a warranty scope can void the warranty.
When making a scope warranty claim, be ready to provide:
- Proof of purchase with date
- Serial number of the scope
- Detailed description of the issue
- Photos showing the problem (if visible)
Brands like Leupold, Vortex, and Nightforce have easy warranty processes.
Finding a Qualified Gunsmith or Scope Technician
If warranty service isn’t an option, finding a skilled professional is crucial. Not all gunsmiths work on scopes. Look for those with training and experience in optics.
Reputable repair services show certifications from manufacturers or training programs. Ask for recommendations from other shooters or check online forums for trusted names in your area.
Questions to Ask Before Handing Over Your Scope
Before giving your scope to anyone, ask these important questions:
- What experience do you have with my specific scope brand and model?
- Which repairs do you perform in-house versus outsource?
- What testing procedures do you use to verify repairs?
- Do you offer any guarantee on your work?
- What is your typical turnaround time?
Expected Costs for Professional Repairs
Understanding repair costs helps you decide whether to fix or replace your scope. Professional scope repair costs vary based on the issue and scope quality.
| Repair Type | Budget Scopes ($100-300) | Mid-Range ($300-800) | Premium ($800+) |
|---|---|---|---|
| Resealing/Nitrogen Purge | $75-125 | $100-175 | $150-250 |
| Reticle Replacement | Often exceeds scope value | $200-350 | $300-500 |
| Turret Mechanism Repair | $50-100 | $100-200 | $150-300 |
| Complete Overhaul | Not economical | $200-400 | $350-600+ |
For budget scopes, replacement might be cheaper than repairs. But for quality optics, professional service can restore performance and extend its life.
Conclusion
In this scope troubleshooting guide, we’ve looked at common problems with top-notch optics. Now, you can spot and fix most issues that mess with your shooting precision.
Prevention is key to scope accuracy solutions. Check mounts, rings, and optical surfaces often. This stops small problems from becoming big ones. A regular maintenance plan saves time and money and makes your scope last longer.
When fixing scopes, start with finding the real problem. Many shooters fix symptoms without finding the cause. This guide shows you how to find the root issue before making any changes.
Using the right tools is crucial for rifle scope maintenance. Get good torque wrenches, lens cleaners, and mounting tools. These tools improve your scope’s reliability and accuracy.
Always keep safety first when fixing scopes. Make sure your gun is unloaded and safe when you’re working on it.
Don’t try to fix everything yourself. Some problems need a pro. Trying to fix complex issues without the right skills can damage your scope.
By following this guide, you’ll keep your optics in top shape. Your rifle will be accurate and reliable when you need it most.


Reply